
How to Replace a Rear Number Plate
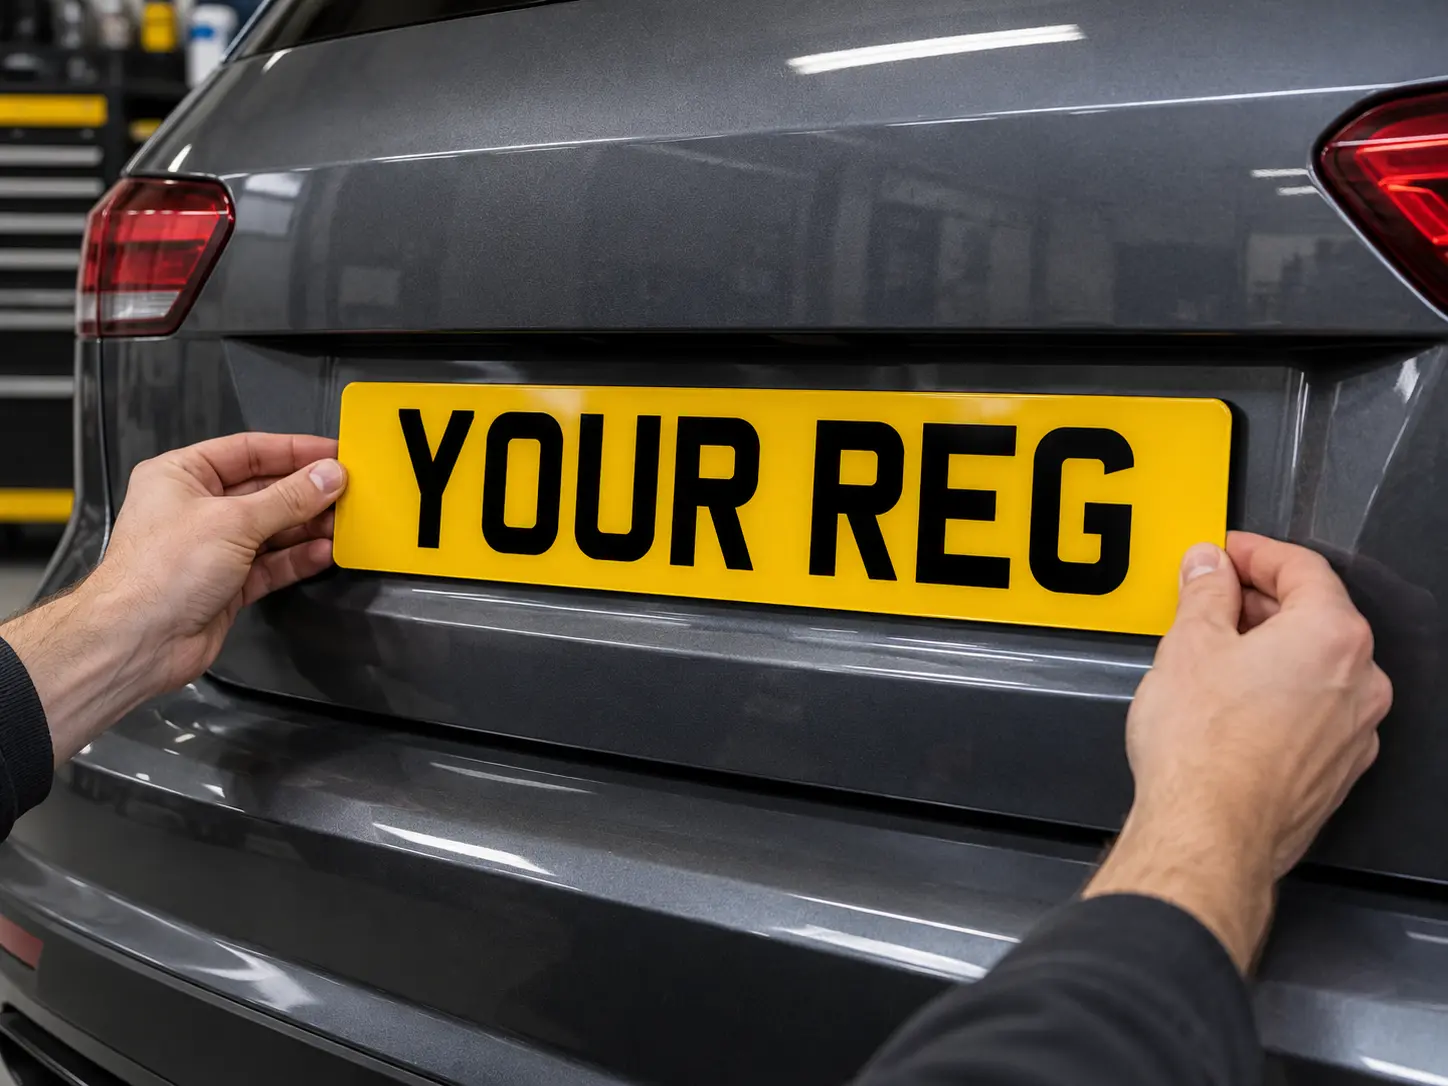
To replace a rear number plate, check the size and registration, remove the old plate carefully, prepare the mounting surface and secure the new yellow plate with suitable screws or number plate adhesive pads. The right method depends on your vehicle’s existing holder and fixings.
Check the replacement before removing the old plate
Compare the registration on the new plate with your vehicle’s paperwork. Check every character and make sure you have the yellow rear plate, not the white front plate. Our replacement rear number plates measure 520 × 111mm; measure your mounting space and read the plate size guide if you are unsure about fit.
For modern UK cars, rear plates must have black characters on a reflective yellow background, with the required supplier and British Standard markings. See GOV.UK’s number plate rules for the full requirements.
Gather your tools and fixings
Park securely and work with good lighting. Have a suitable screwdriver, a soft cloth and a cleaner compatible with the mounting surface ready. Use purpose-made number plate pads or suitable screws and caps for your vehicle. A drill is only needed if your new plate requires screw holes.
Check whether the plate sits in a holder, uses screws, or is bonded to the vehicle. Follow the holder or vehicle manufacturer’s instructions where available.
Remove the old rear plate
If the plate is screwed on
Open or remove the screw caps and support the plate while undoing the screws. Keep track of any washers or spacers. If a screw is seized or the mounting point turns with it, stop and get help rather than forcing it and damaging the bodywork.
If the plate uses adhesive pads
Release the pads gradually, keeping pressure away from the paintwork. Avoid levering a metal tool against the vehicle. If the plate will not release without force, ask a garage to remove it. Once it is off, remove old adhesive with a product suitable for the surface and follow that product’s instructions.
Fit the new plate
Using screws
Check that the existing mounting points are sound. If holes are needed, use the old plate as a template only after checking its position and alignment. Remove the new plate from the vehicle before drilling, support it securely and follow our step-by-step drilling guide.
Align the plate and tighten the fixings gently. Overtightening can crack or distort it. Fit suitable caps without obscuring or altering the registration characters.
Using adhesive pads
The mounting surface must be clean, dry and suitable for the pads. Use fresh number plate pads and follow their instructions for placement, temperature, pressure and bonding time. Check the alignment before pressing the plate into place. Do not rely on adhesive across an uneven or damaged surface.
Check the finished fitting
Make sure the plate sits securely, is clearly readable and does not cover a light, camera or handle. Check the rear number plate lights still illuminate it. Follow any adhesive curing instructions before driving or washing the vehicle.
If the holder is damaged or the plate will not sit securely, have the mounting repaired before using the vehicle.
Ordering a replacement rear plate
You can order a rear number plate on its own if the front plate is still in good condition. See our replacement plate cost guide for single-plate and pair prices, and prepare the paperwork explained in our documents guide before ordering.